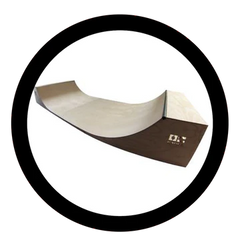
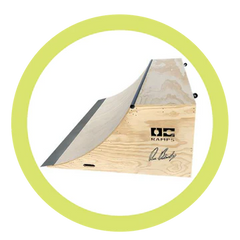
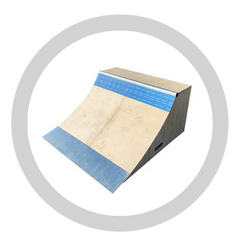
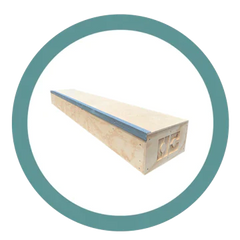
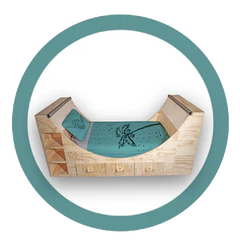
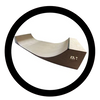
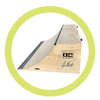
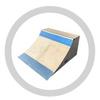
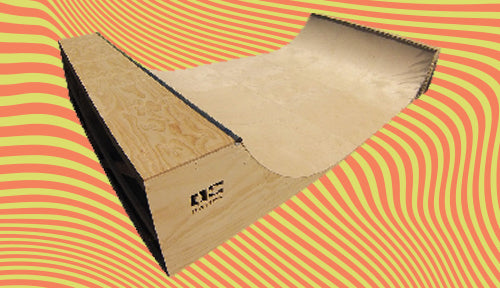
We are often asked the best types of foundations for a half pipe mini ramp.
Ramp Foundations – Build Strong with OC Ramps
Below are a few Q and A’s about where you should install your skateboard ramp.
Yes! You don’t necessarily need to buy a 10-foot level to make sure it’s 100% perfect. You just want the ramp as level as possible to the naked eye. The ramp makes an awkward feel to a skater if it’s on a slope. Should it be on dirt or cement? It does not matter as long as its level.
The ramp needs to be put on a level surface. It can be on dirt, gravel, grass, cement, etc. As long as its LEVEL!
If you place the ramp over a grass area make sure the sprinklers are not hitting the ramp with water. Cap off any sprinkler heads if the ramp is going directly on top of any sprinklers.
We do recommend it. Many of our customers that live in wet/moist areas tend to elevate their ramps using any type of block; cinder, brick, pavers, stepping stones, etc.
Elevating the ramp just helps in case of heavy rain- the water can simply flow and run under the ramp—as opposed to the ramp sitting in mud or water.
If the area in which the ramp will go is in the shade where it tends to stay muddy or wet- we most definitely recommend elevating the ramp.
The ramp can only be elevated during the construction; once the ramp is built it is near impossible to put blocks underneath.
Here are a few options that we recommend- ranging in both price and labor.
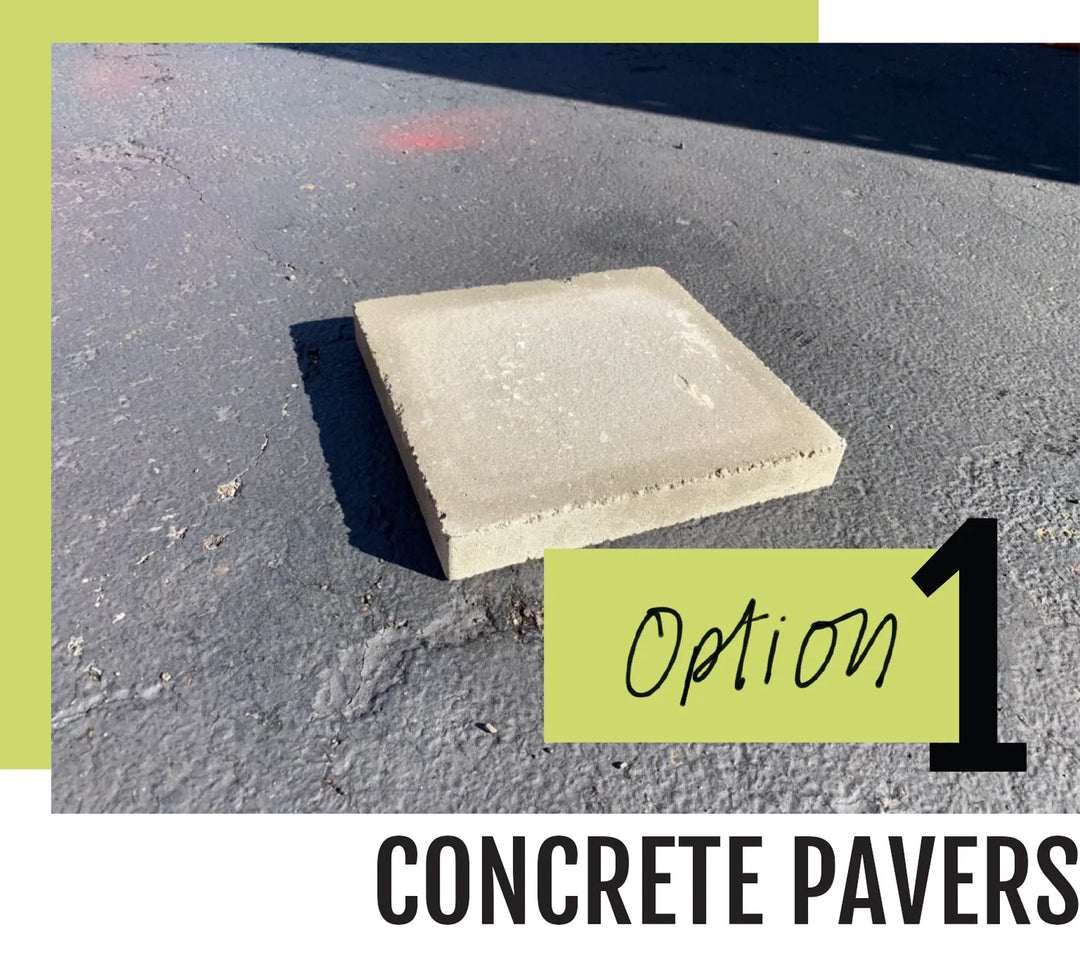
The easiest and cheapest method is to use pavers from Home Depot. They run a couple bucks each.
An 8ft wide ramp may occupy 15-20 pavers, while the 16ft wide halfpipes may need 30-40. If one area or corner is low, you can always stack more than one paver.
During the framing process of building the “bones” we suggest adding concrete pavers every few feet under the framing (pictured below).
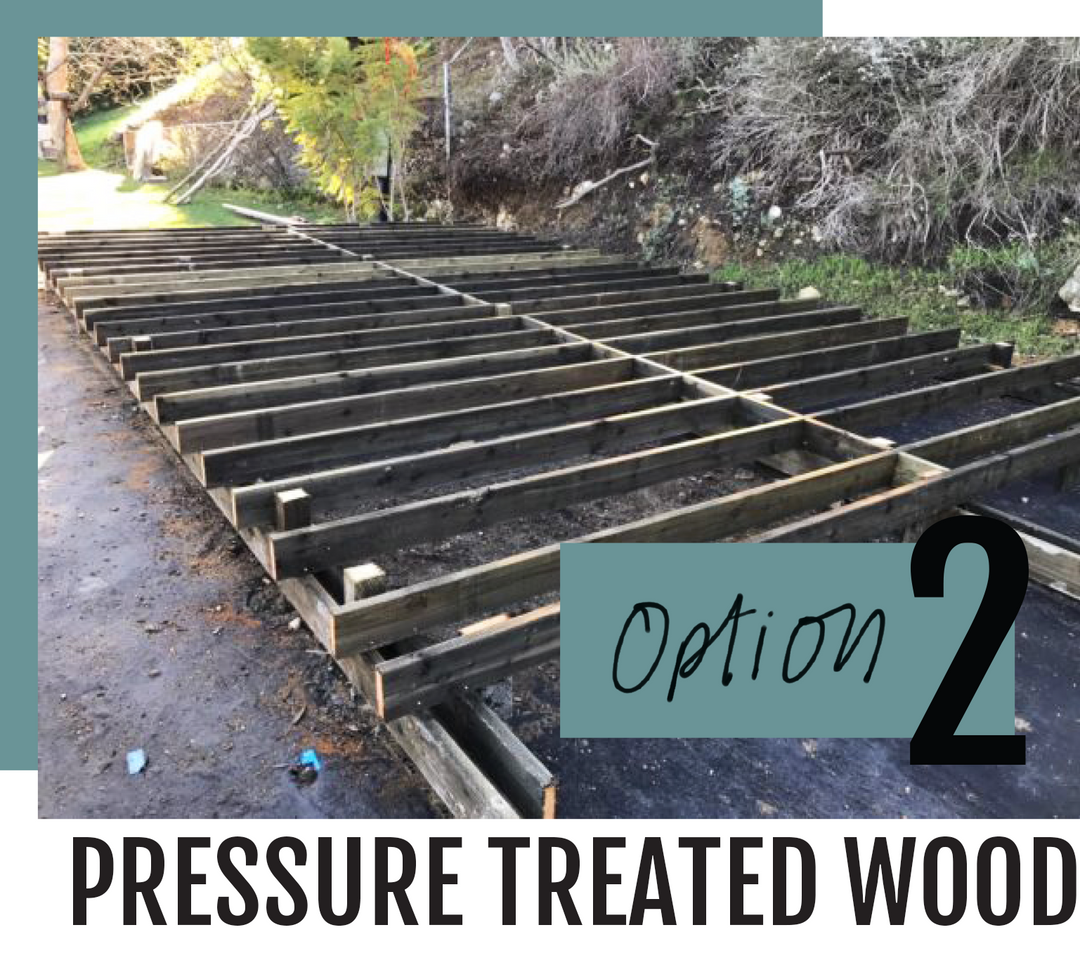
Using pressure treated (2×6 and 2×8) lumber for the foundation elevates your half pipe as
it’s the perfect solution for wet/shady area’s on your property. We suggest hiring a local pro to help assist on this method.This option does run costly ($1,000-2,000 for materials), however it may be completely worth it to protect your investment!
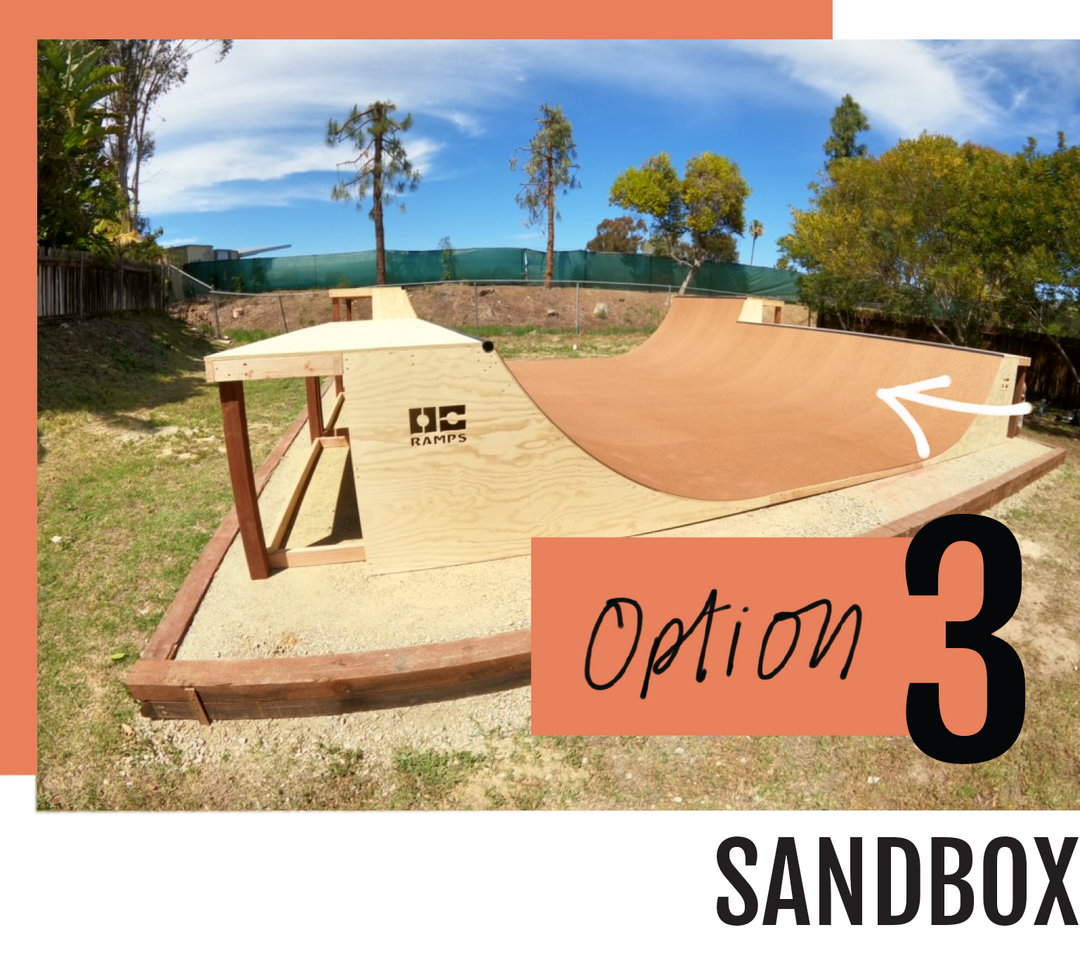
You won’t actually fill in the space with sand; you’d want to used crushed gravel/rocks.
This design will help with the drainage for when it rains as well.
The perimeter of the ‘sandbox’ is typically a pressure treated lumber (ie 4x4 or 2x8).
This may be a bit more expensive than the paver route – but, it’s going to hold up better in the long run.
