



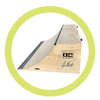
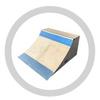
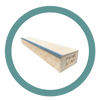




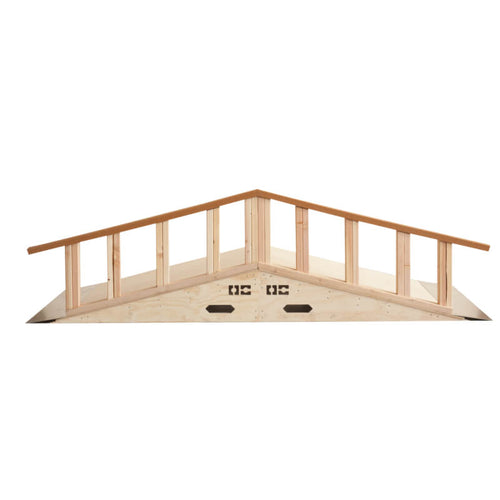
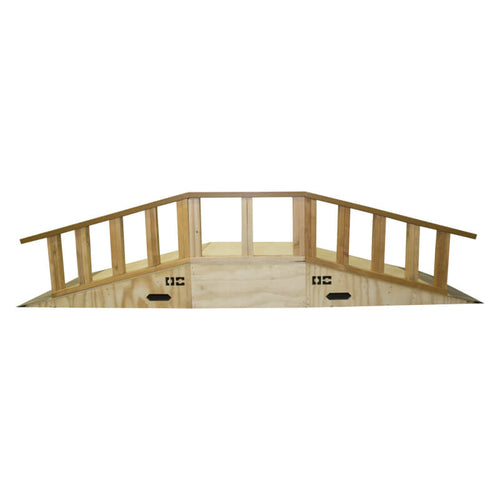
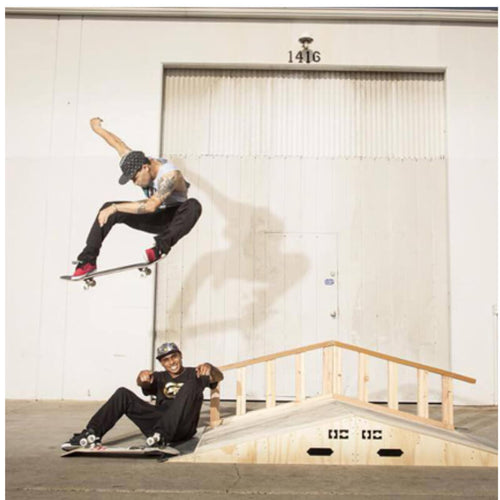
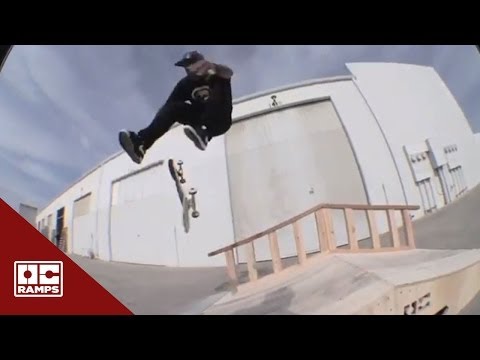


A compact obstacle that joins a bump to a Butter surface
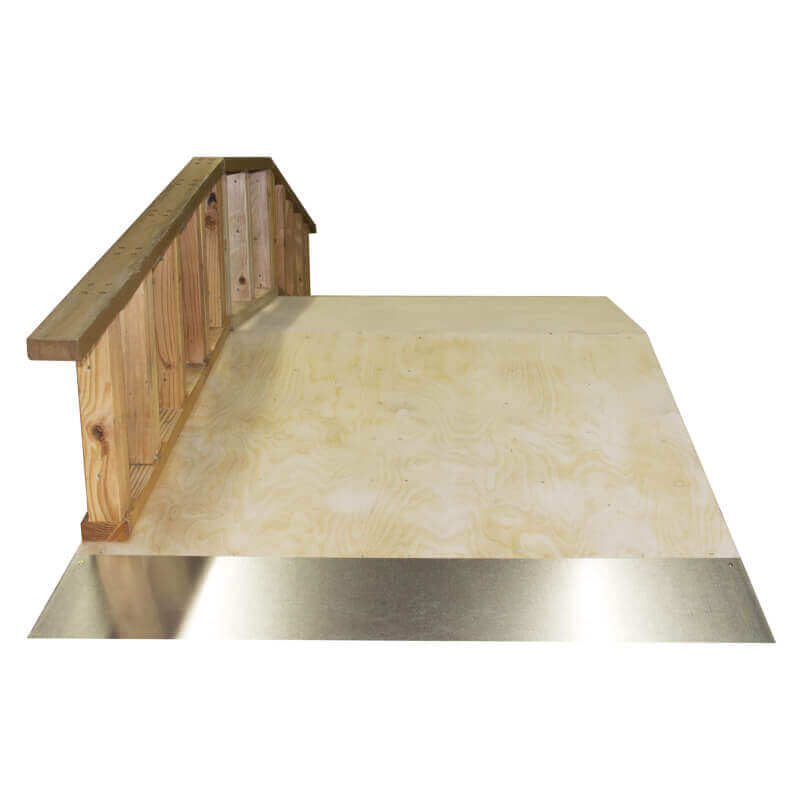
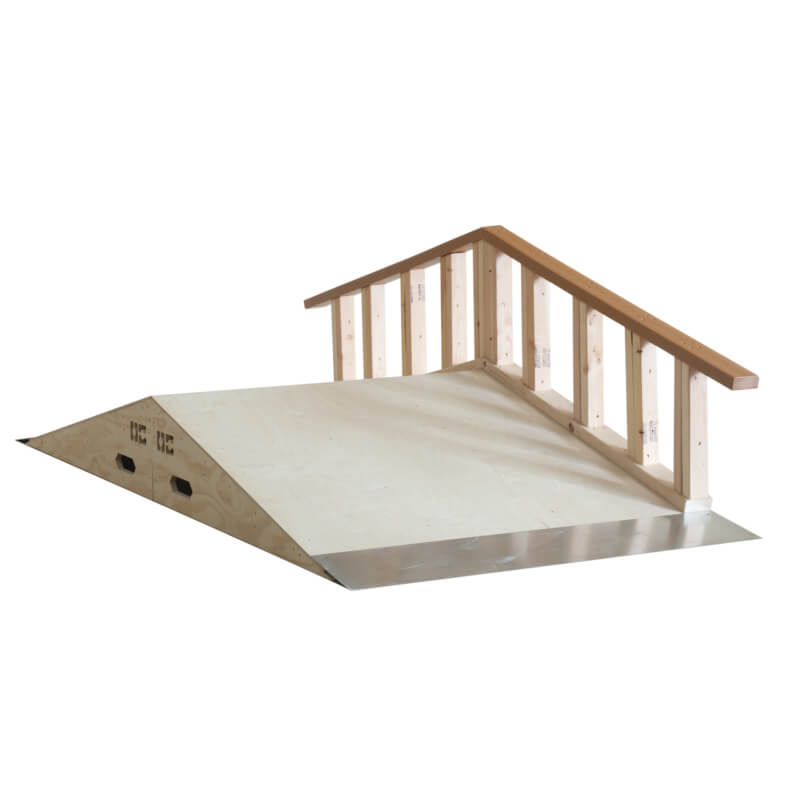
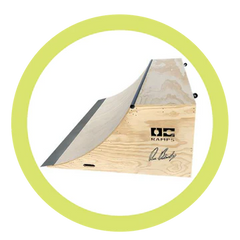
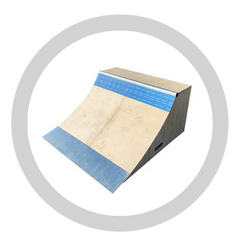
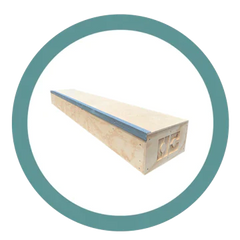
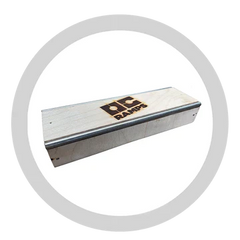
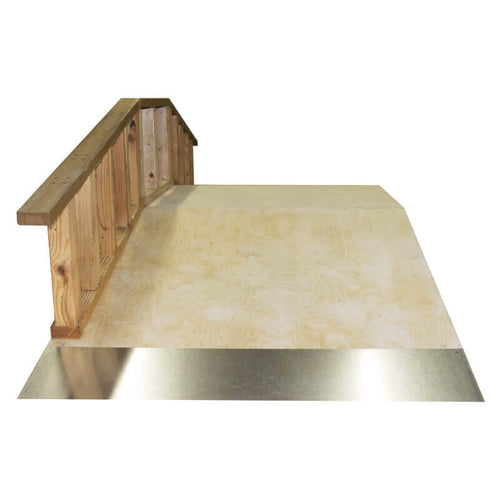
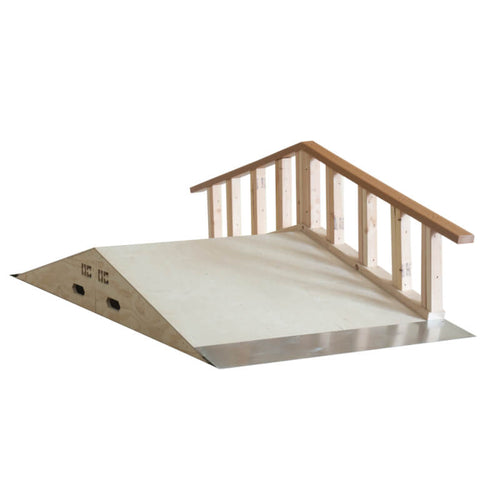
Bump to Butter combines a 12-inch bump, a 17-inch rail element, and a dedicated Butter sliding surface in one 8-foot obstacle. It is for a setup that needs more than a simple bank and wants the bump, rail, and sliding decision to live together.
Specifications
- Height: Bump: 12 inches. Rail: 17 inches.
- Width: 4 feet
- Length: 8 feet
- Tools: drill
- Assembly: 1-2 hours
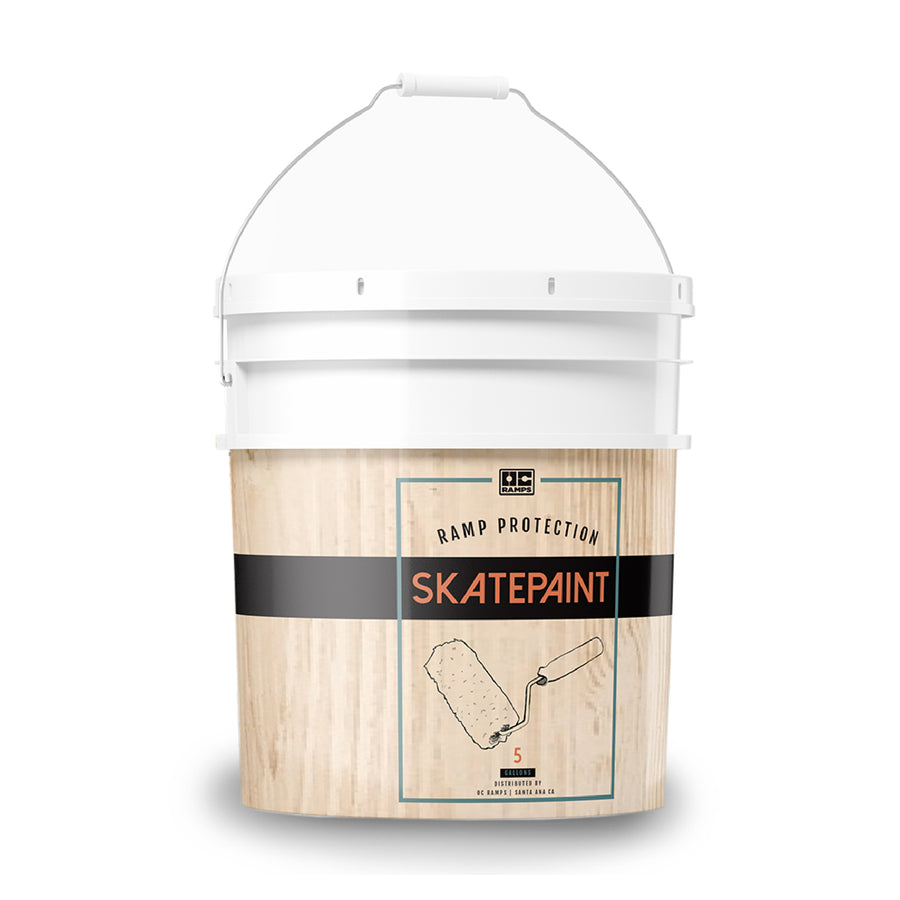
- Skate Paint: 1 quart
- Materials: designed for outdoor use
Shipping & Placement
Free shipping in the U.S.
Shipping is free to the 48 contiguous states with no order minimum. Alaska and Hawaii require a shipping quote.
Assembly details
Bump to Butter has an estimated one-to-two-hour assembly window and requires a drill. Build the bump, rail, and Butter surface as one connected feature, then confirm their alignment on level pavement.
Questions about Bump to Butter Skate Obstacle
How does the Bump to Butter Skate Obstacle differ from Bump to Rail?
Bump to Butter adds a broad Butter sliding surface to the bump concept, while Bump to Rail centers its connected red rail. Compare the working surface the rider actually wants to use. Both combine obstacle jobs, but they lead to different slide-and-grind decisions.
Who should consider Bump to Butter instead of a plain bank?
It suits a rider who wants a launch to feed directly into a dedicated slide-and-grind surface. A plain bank keeps the transition job simpler. Choose the combined obstacle only when the Butter section will be used enough to justify giving up the flexibility of separate pieces.
When would separate obstacles make more sense than Bump to Butter?
Choose separate pieces when the layout needs the bump and sliding feature to move independently or serve different routes. Bump to Butter makes more sense when their fixed relationship is the advantage. The decision is modular freedom versus one repeatable combined obstacle.
How should rider experience affect the Bump to Butter decision?
Use the 12-inch bump, 17-inch rail element, and Butter surface as the real reference points. A universal skill label would be misleading. Choose it only when the rider is comfortable progressing around that combined shape and the site can keep its complete route open.
Explore launch ramps and obstacles.
Specifications
Weight: 68 lbs, 125 lbs
Height: Bunp: 12 inches, Rail: 17 inches
Width: 4 feet
Length: 8 feet
Tools Needed: Drill
Assembly Time: 1-2 hours
Shipping Cost: FREE!
Skate Paint: Requires 1 quart
Shipping & Product Info
Bump to Butter arrives to your door in kit form. Everything comes boxed up– ready to go! Only need a drill to install.
Our instructions manual (with photos) makes this ramp extremely simple to build. All materials are designed for outdoor use.
View more info on where to place your halfpipe Halfpipe Foundations
View more info on how to protect your halfpipe Protect my Halfpipe
What to Expect
We have two teams working around the clock to mass produce the beloved kits that are in high demand, after all we service ALL skaters worldwide! The fabrication time in our warehouse starts when you place the order as the information prints out directly to our team to start production. After the kit is created, the next process is actual transit time. We work with several carriers for a variety of our products to help cut down on transit times and delays.
Our Quarter Pipe kits (4ft wide Quarter Pipe & larger), Half Pipes, and sheets of GatorSkins or Skatelite Pro all ship on a double size pallet (4ft wide x 8ft long) via freight carrier. As the double sized pallet leaves our warehouse, the freight carrier will then begin the transit process to get your order over to your local delivery terminal. As your shipment arrives in your local area, the freight carrier will have an appointment setter call you directly to schedule an appointment for delivery. Just like when you book an appointment with the cable company, you will be given a 4 – 8-hour window of delivery.
The freight driver will then arrive at your residential delivery address on the day of your scheduled appointment. Please note that this will be a curbside delivery. The driver will not be able to pull into your driveway or any other requested area on your property. You will want to be sure to have 2 – 3 able-bodied adults, in total, at your place of residence during the delivery window to assist with the unloading of this pallet. Provided the size and weight of these shipments, a liftgate is not permitted and drivers are unable to assist with any of the hand unloading process. The pallet is easy to breakdown to execute a hand unloading process with yourself and a few additional helping hands.
The entire unloading process may seem daunting however it is a fairly simple process that can be executed within 10 – 20 minutes! Please keep in mind that delays may occur with the delivery. We understand that this can be frustrating. If you experience a missed appointment, please reach out to us and our team is happy to help.
If you notice any damages or issues with the order upon receiving, please proceed with accepting the shipment, but notate on the delivery receipt by stating “DAMAGE” when signing the delivery receipt. You do not need to itemize any material which was damaged when accepting the shipment. Once your shipment has been unloaded and signed, please email our team directly with the damage(s), proof of signed delivery receipt which has been notated as damaged along with full length pictures of the material which was damaged. We will work on resolving the issue immediately.
 |
 |
| 1. Highest class exterior lumber and plywoods | 2. Pre-counted rust proof screws and instructions booklet with pictures |
 |
 |
| 3. Galvanized metal parts that prevent rusting | 4. Pre-cut and Pre-drilled boards ensure simple installation |
 |
|
| 5. Computerized cut pieces guarantee a perfect slope |
The internet has all sorts of terrible ideas as to how to quiet or dampen the sound of your skateboard ramp - in particular the mini ramps (or halfpipes).
You may read about wives tales on using insulation, filling the coping with whatever, or add pillows and blankets behind the ramp. We are here to clear the air….that is all nonsense.
There are really only 2 suggestions to help quiet your mini ramp.
- You can close up the back of your skateboard ramp with ¾” thick plywood. This will eliminate the hollow sound significantly. Again, don’t read into the bogus information about filling in that empty space before you close it up with plywood. It doesn’t work. Simply closing up the backend will help with the noise. Some customers will get creative with it- we’ve seen several put hinges on the backend - making a custom door for storage, etc. That is entirely optional to make use of the space. But in terms of noise levels, close it up.
- Also using a softer gel wheel is helpful to give you the incognito vibe your neighbors won’t complain about while shredding your skateboard ramp. Generally the harder the wheel, the louder they hear ya coming! Many skaters have multiple skateboards with a different set of wheels, most prefer the harder wheels during normal street skating use & then at night we switch over to the gel softer wheels so your neighbor’s can get their precious sleep & you can shred your heart out! Not every skater likes riding a gel wheel. There are many pros/cons. For this conversation, the biggest pro for having a softer wheel is the reduced noise factor. If you have neighbors that are goin to be a narc, just throw on the soft wheels!