
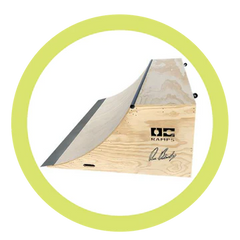
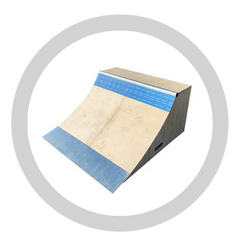








A compact two-in-one fingerboard obstacle
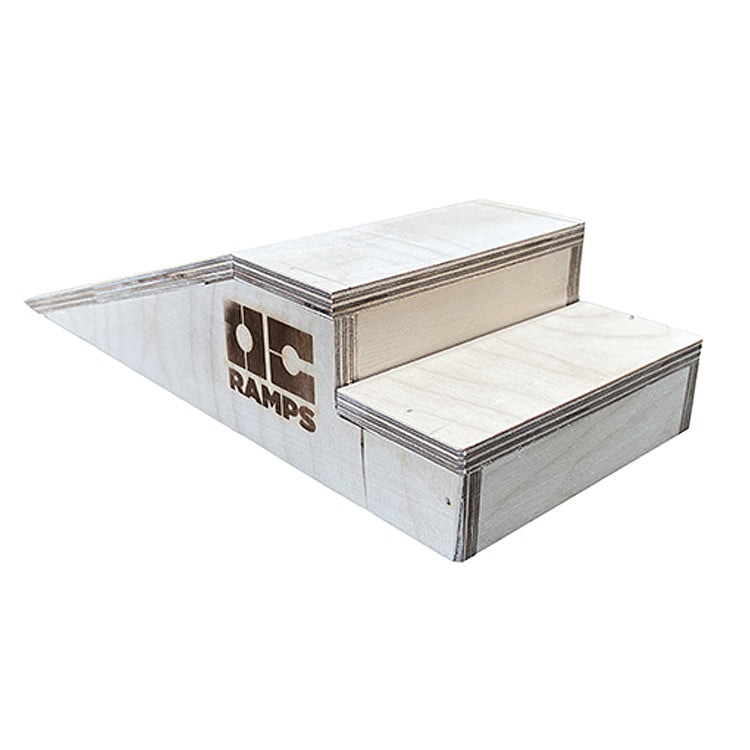
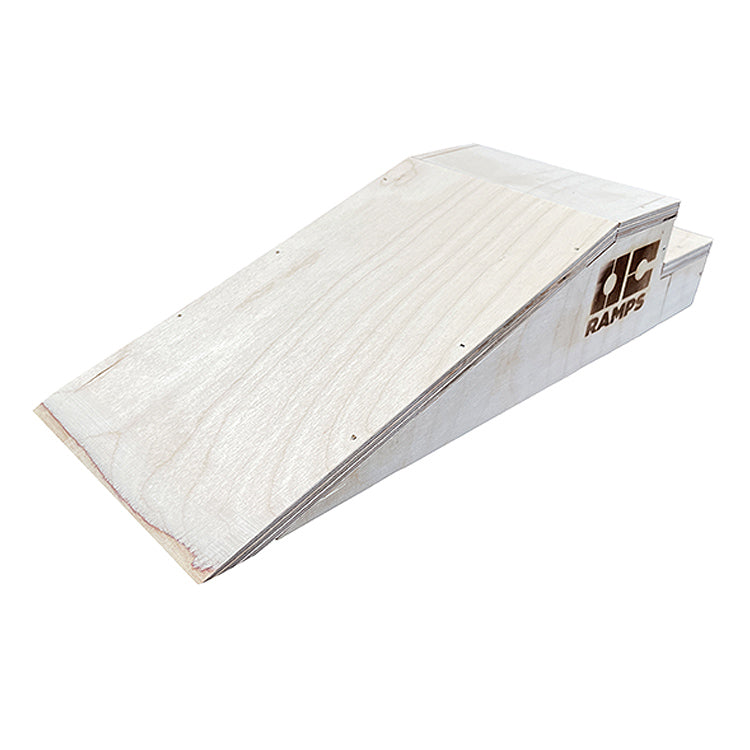
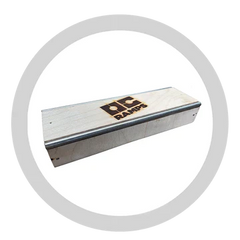
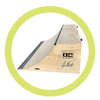
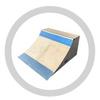
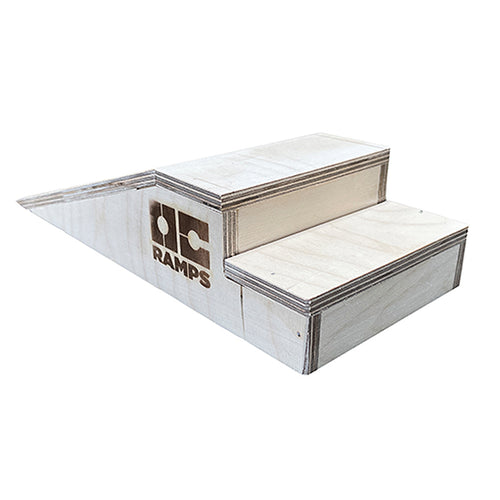
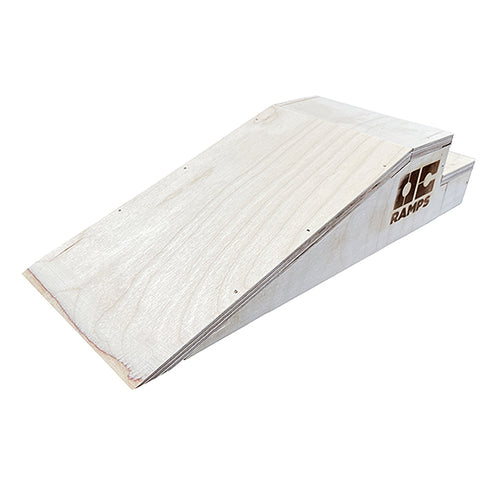
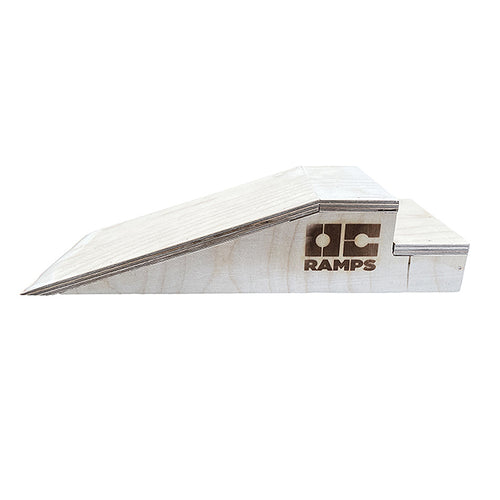
Fingerboard Bump to Stairs joins a sloped bump approach with a stair set in exterior plywood, creating two distinct faces for a compact setup without assembly.
Two obstacle types in one footprint
Fingerboard Bump to Stairs combines a smooth sloped bump with a stepped face in one compact piece. Choose it when a small course needs two visibly different targets without requiring separate bump and stair obstacles. The shared footprint preserves table space while giving the layout more variety than a single-surface feature.
Use the bump as the smooth approach
The sloped side creates a smooth upward approach for roll-ups and launch attempts. That face suits a session focused on continuous movement rather than the interrupted geometry of the steps. Turn the obstacle only when the stair face is the better next challenge for the planned course.
Turn to the stair face for a new target
The opposite side presents a stair set instead of another smooth slope. Its stepped form changes the approach and landing problem without adding another obstacle to the tabletop. This is the distinct reason to choose Bump to Stairs over an A-frame bump with two matching faces.
Exterior-plywood construction
Exterior plywood forms the compact bump-and-stairs obstacle. The wood body keeps the sloped and stepped faces defined within one solid miniature piece. Choose this construction when a wooden OC Ramps obstacle belongs in the course instead of a molded plastic feature.
Preassembled and easy to reposition
Fingerboard Bump to Stairs arrives preassembled and can move between fingerboard spots. Set it on a stable surface and rotate the piece when the course needs the bump or the stair face to lead. That flexibility helps a temporary desk or table setup change without adding build time between sessions.
Free shipping in the U.S.
Shipping is free to the 48 contiguous states with no order minimum. Alaska and Hawaii require a shipping quote.
Questions about Fingerboard Bump to Stairs
How is Bump to Stairs different from Fingerboard Bump Ramp?
Bump to Stairs pairs one smooth slope with a stepped face, while Bump Ramp uses two sloped faces around a raised center. Choose the combined obstacle when contrasting targets add value in one footprint. Choose the A-frame when a more symmetrical up-and-over movement better matches the intended session.
What should determine which face leads the course?
Let the next trick target and available landing room decide orientation. Lead with the smooth side when the course needs continuous upward movement, or rotate toward the stairs when the stepped face is the focus. Do not leave one side permanently unused if a different position would solve the current course gap better.
What should another obstacle add after Bump to Stairs?
Add a ledge, manual pad, or transition only when it introduces a movement the existing two-face obstacle cannot provide. Another small bump or stair feature may duplicate the same practice job. Course expansion is strongest when the next piece changes height, balance, or surface rather than merely making the tabletop look fuller.
What fingerboard tricks work with the Fingerboard Bump to Stairs?
Use the Fingerboard Bump to Stairs for fingerboard tricks that match its shape, such as ollies, manuals, grinds, slides, or transition moves. Pair it with a fingerboard complete and enough tabletop space to create a clean approach and landing.
Specifications
Weight: 1 lbs
Height: 3 inches
Width: 5 inches
Length: 12 inches
Shipping Cost: FREE!
What to Expect
We have two teams working around the clock to mass produce the beloved kits that are in high demand, after all we service ALL skaters worldwide! The fabrication time in our warehouse starts when you place the order as the information prints out directly to our team to start production. After the kit is created, the next process is actual transit time. We work with several carriers for a variety of our products to help cut down on transit times and delays.
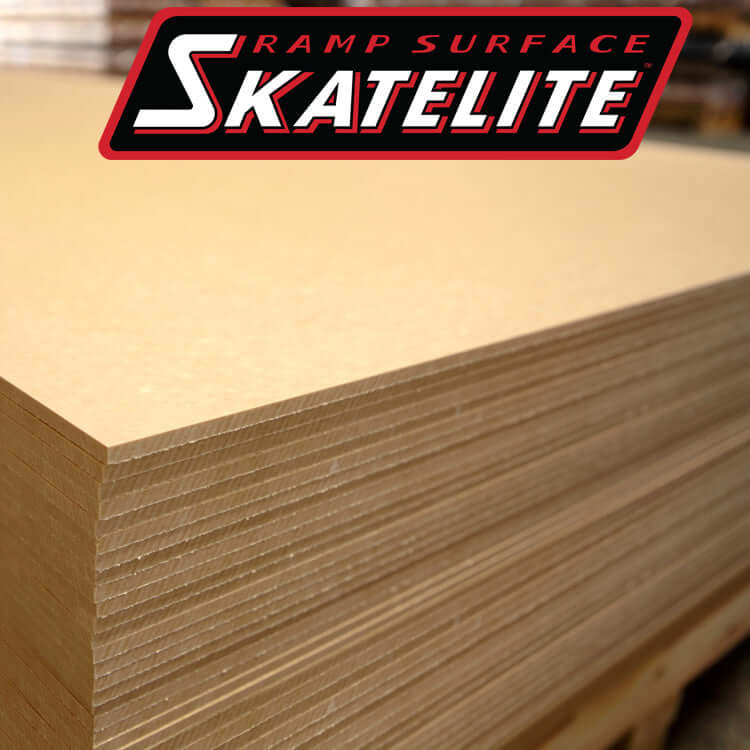
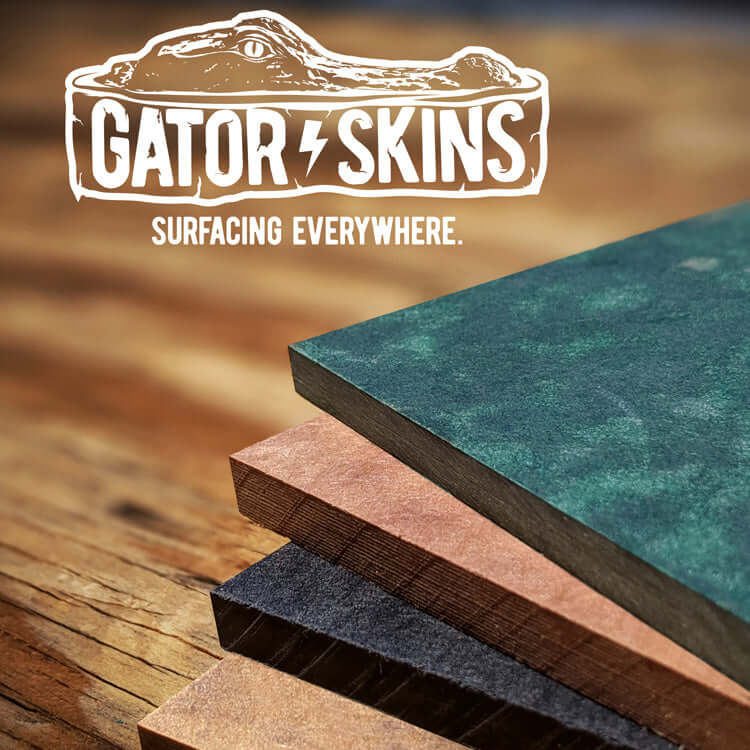
Our Quarter Pipe kits (4ft wide Quarter Pipe & larger), Half Pipes, and sheets of GatorSkins or Skatelite Pro all ship on a double size pallet (4ft wide x 8ft long) via freight carrier. As the double sized pallet leaves our warehouse, the freight carrier will then begin the transit process to get your order over to your local delivery terminal. As your shipment arrives in your local area, the freight carrier will have an appointment setter call you directly to schedule an appointment for delivery. Just like when you book an appointment with the cable company, you will be given a 4 – 8-hour window of delivery.
The freight driver will then arrive at your residential delivery address on the day of your scheduled appointment. Please note that this will be a curbside delivery. The driver will not be able to pull into your driveway or any other requested area on your property. You will want to be sure to have 2 – 3 able-bodied adults, in total, at your place of residence during the delivery window to assist with the unloading of this pallet. Provided the size and weight of these shipments, a liftgate is not permitted and drivers are unable to assist with any of the hand unloading process. The pallet is easy to breakdown to execute a hand unloading process with yourself and a few additional helping hands.
The entire unloading process may seem daunting however it is a fairly simple process that can be executed within 10 – 20 minutes! Please keep in mind that delays may occur with the delivery. We understand that this can be frustrating. If you experience a missed appointment, please reach out to us and our team is happy to help.
If you notice any damages or issues with the order upon receiving, please proceed with accepting the shipment, but notate on the delivery receipt by stating “DAMAGE” when signing the delivery receipt. You do not need to itemize any material which was damaged when accepting the shipment. Once your shipment has been unloaded and signed, please email our team directly with the damage(s), proof of signed delivery receipt which has been notated as damaged along with full length pictures of the material which was damaged. We will work on resolving the issue immediately.
The internet has all sorts of terrible ideas as to how to quiet or dampen the sound of your skateboard ramp - in particular the mini ramps (or halfpipes).
You may read about wives tales on using insulation, filling the coping with whatever, or add pillows and blankets behind the ramp. We are here to clear the air….that is all nonsense.
There are really only 2 suggestions to help quiet your mini ramp.
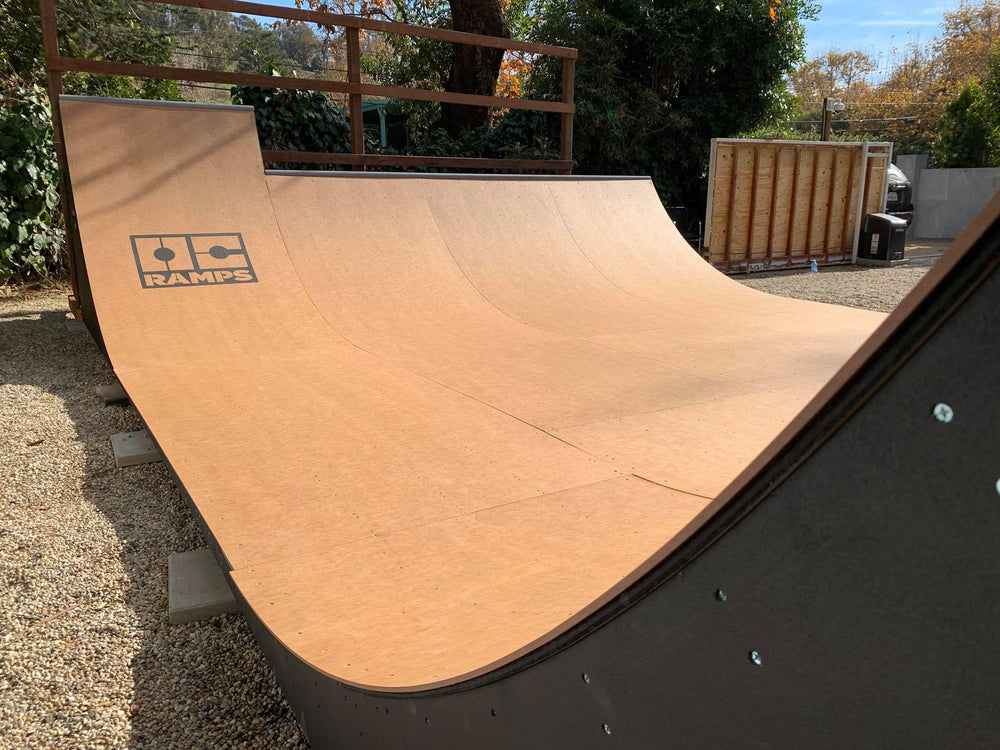
- You can close up the back of your skateboard ramp with ¾” thick plywood. This will eliminate the hollow sound significantly. Again, don’t read into the bogus information about filling in that empty space before you close it up with plywood. It doesn’t work. Simply closing up the backend will help with the noise. Some customers will get creative with it- we’ve seen several put hinges on the backend - making a custom door for storage, etc. That is entirely optional to make use of the space. But in terms of noise levels, close it up.
- Also using a softer gel wheel is helpful to give you the incognito vibe your neighbors won’t complain about while shredding your skateboard ramp. Generally the harder the wheel, the louder they hear ya coming! Many skaters have multiple skateboards with a different set of wheels, most prefer the harder wheels during normal street skating use & then at night we switch over to the gel softer wheels so your neighbor’s can get their precious sleep & you can shred your heart out! Not every skater likes riding a gel wheel. There are many pros/cons. For this conversation, the biggest pro for having a softer wheel is the reduced noise factor. If you have neighbors that are goin to be a narc, just throw on the soft wheels!