









Find the takeoff for your next line
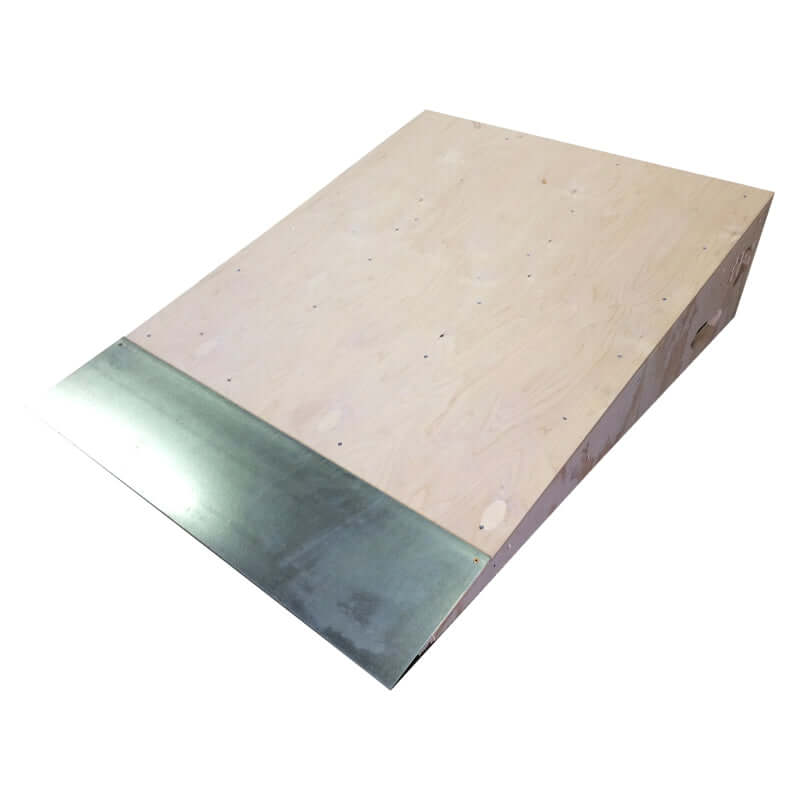
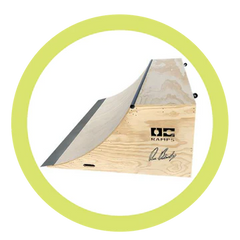
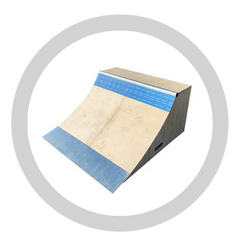
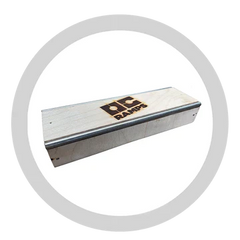
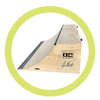
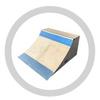
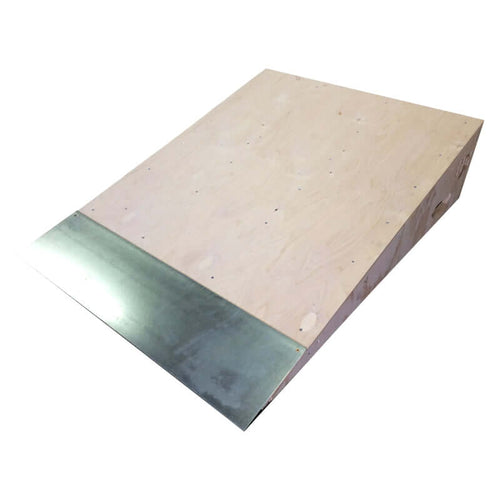
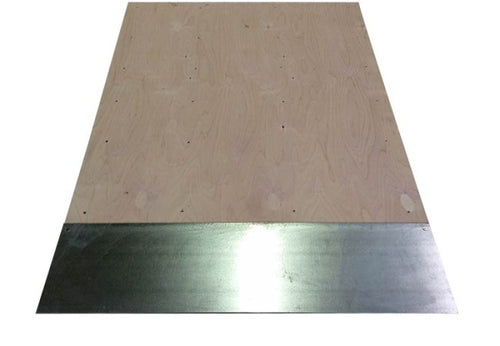
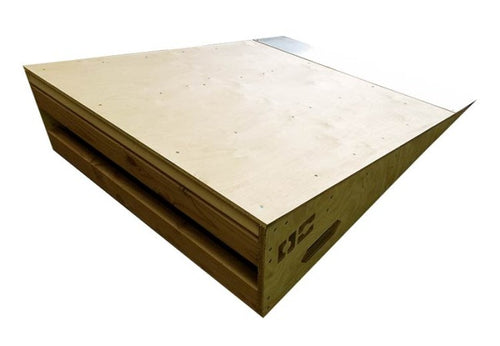
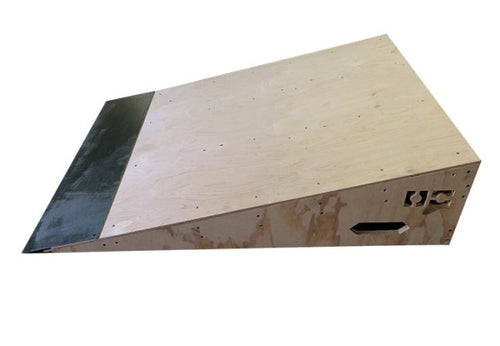
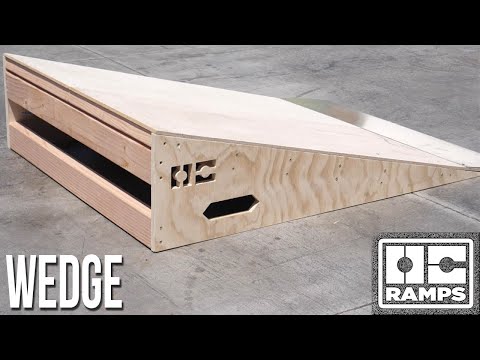
A gap you want to work toward. A box that could use a different approach. The Wedge Bump adds a compact launch point you can build a session around, then move when a new idea comes along. Its 12-inch rise and 38-inch width give it a broader takeoff than the narrow GB Kicker without taking over the space like a large bank.
Give flatground a takeoff point
The wedge rises 12 inches, creating a launch for tricks that fit your ability and the space around you. It can be the feature you practice on by itself before you start adding gaps or other obstacles. Begin with the movement you want to repeat; our Types of Ramps guide helps you compare a launch with a ledge, rail or transition.
Use the width without losing the landing
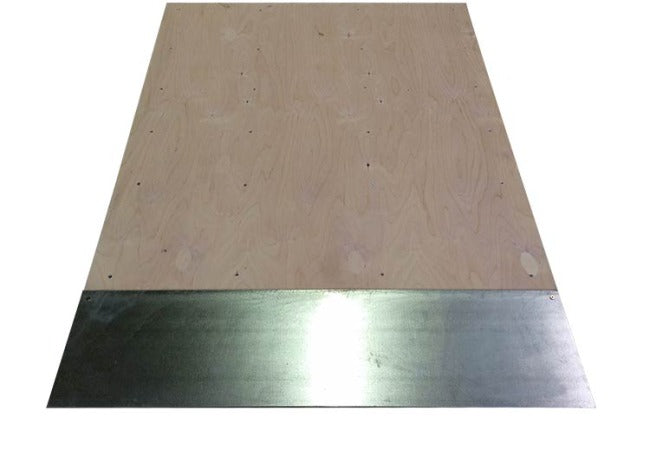
At 38 inches wide and four feet long, the Wedge Bump provides a compact ramp body. The skating area still needs a clear run-in and enough space beyond the takeoff for your intended line. Measure those movements alongside the ramp rather than treating its footprint as the whole session. The Space and Fit guide shows what to include.
Change the layout when the idea changes
The Wedge Bump can move from one part of your setup to another, giving a box, rail or gap a different approach. At 45 pounds, it calls for deliberate handling and a settled position before skating. Plan the relationship between the pieces and keep the landing open; a useful connection needs more thought than simply putting two obstacles close together.
Take on a focused kit build
The ramp comes with required assembly hardware and a photo instruction booklet. You will need a drill, with assembly estimated at 20 to 40 minutes. Set aside a work area where you can lay out the parts and follow the steps without competing with the skating area. Our Kit Assembly guide helps you prepare for the build.
Choose the approach your box needs
The Wedge Bump is the broader, taller launch of these two options. If your main goal is a ramp that matches an OC Ramps Grind Box, the GB Kicker's nine-inch height and 19-inch width are designed for that connection. Keep the Wedge Bump in mind when you want a more general takeoff that can serve different parts of your setup.
What's in the Box
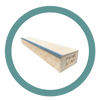
- One Wedge Bump Ramp
- Required assembly hardware
- Photo instruction booklet
Free shipping in the U.S.
Shipping is free to the 48 contiguous states with no order minimum. Alaska and Hawaii require a shipping quote.
Assembly details
For Wedge Bump Skate Ramp, assembly is estimated at 20-40 minutes and the tools are drill. Follow the product instructions for the exact kit.
Questions about Wedge Bump Skate Ramp
How does the Wedge Bump differ from the GB Kicker?
The Wedge Bump stands 12 inches high and is 38 inches wide, creating a broader compact launch. The GB Kicker is nine inches high and 19 inches wide to match a Grind Box. Choose the Wedge for general connections and the GB for that specific pairing.
Who should choose a Wedge Bump instead of a full Bank Ramp?
Choose the Wedge Bump when a compact four-foot connector can link gaps, rails, or boxes and the layout needs to stay flexible. Choose the eight-foot-wide Bank when a broad, substantial bank face should anchor a dedicated spot as opposed to move around it.
How does the Wedge Bump compare with Jordan Hoffart's Speed Bump?
The Wedge Bump is a compact four-foot takeoff and connector. The Speed Bump is a broader eight-foot signed feature intended to carry more of the route. Choose the Wedge for flexibility and the Speed Bump when the larger shape deserves a settled role.
How can riders use the Wedge Bump Skate Ramp?
Use the Wedge Bump Skate Ramp as a line-building obstacle for launches, ollies, and other tricks that fit its exact shape. Give the feature a straight approach and clear landing or exit, then progress from basic rollovers and controlled launches within the rider's ability.
Can I return the Wedge Bump Skate Ramp if it is not the right fit?
Eligible unused products may be requested for return within 30 calendar days of purchase when they are in original condition and packaging with all included parts and manuals. Customized, used, skated, damaged, or incomplete products are not eligible, and freight, original shipping, processing costs, and a restocking fee may apply. Review the current OC Ramps Return Policy before ordering.
Specifications
Weight: 45 lbs
Height: 12 inches
Width: 38 inches
Length: 4 feet
Tools Needed: Drill
Assembly Time: 20-40 minutes
Shipping Cost: FREE!
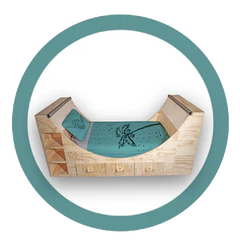
View more info on where to place your halfpipe Halfpipe Foundations
View more info on how to protect your halfpipe Protect my Halfpipe
 |
 |
| 1. Highest class exterior lumber and plywoods | 2. Pre-counted rust proof screws and instructions booklet with pictures |
 |
 |
| 3. Galvanized metal parts that prevent rusting | 4. Pre-cut and Pre-drilled boards ensure simple installation |
 |
|
| 5. Computerized cut pieces guarantee a perfect slope |
The internet has all sorts of terrible ideas as to how to quiet or dampen the sound of your skateboard ramp - in particular the mini ramps (or halfpipes).
You may read about wives tales on using insulation, filling the coping with whatever, or add pillows and blankets behind the ramp. We are here to clear the air….that is all nonsense.
There are really only 2 suggestions to help quiet your mini ramp.
- You can close up the back of your skateboard ramp with ¾” thick plywood. This will eliminate the hollow sound significantly. Again, don’t read into the bogus information about filling in that empty space before you close it up with plywood. It doesn’t work. Simply closing up the backend will help with the noise. Some customers will get creative with it- we’ve seen several put hinges on the backend - making a custom door for storage, etc. That is entirely optional to make use of the space. But in terms of noise levels, close it up.
- Also using a softer gel wheel is helpful to give you the incognito vibe your neighbors won’t complain about while shredding your skateboard ramp. Generally the harder the wheel, the louder they hear ya coming! Many skaters have multiple skateboards with a different set of wheels, most prefer the harder wheels during normal street skating use & then at night we switch over to the gel softer wheels so your neighbor’s can get their precious sleep & you can shred your heart out! Not every skater likes riding a gel wheel. There are many pros/cons. For this conversation, the biggest pro for having a softer wheel is the reduced noise factor. If you have neighbors that are goin to be a narc, just throw on the soft wheels!